Azure Devops is the new and improved version of VSTS which now allows you to define your build with configuration-as-code using YAML instead of the visual editor to create your build pipelines. In fact it is now the default experience and when you create a new Build Pipeline it will create a new PR to add a azure-pipeline.yml to your repository. But what if you want to use multiple different build definitions within the same repo or give your YAML file a different name? This article will show you how.
Creating a build with a custom YAML file
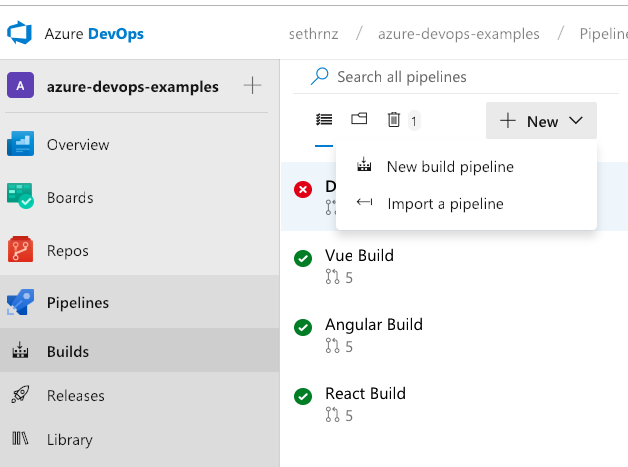
First you need to create a new Build Pipeline in your project. Click on Pipelines in the left navigation, click on Builds and click New build pipeline.
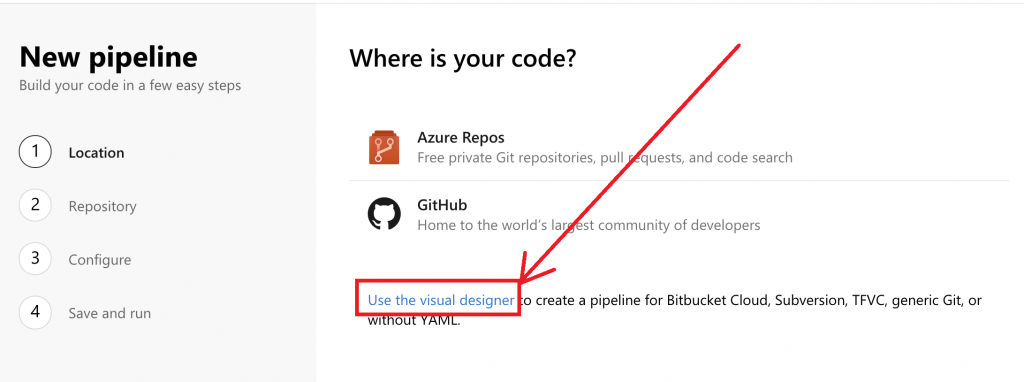
Counterintuitively, in order to select your own custom YAML file, you need to use the visual designer. To do this click on "Use the visual designer".
After choosing to use the visual designer you will have to select the location of the repository you want to connect to. Select the location you want, in my case I'm using Github, then complete the rest of the required fields to chose the repository you want to trigger builds from.
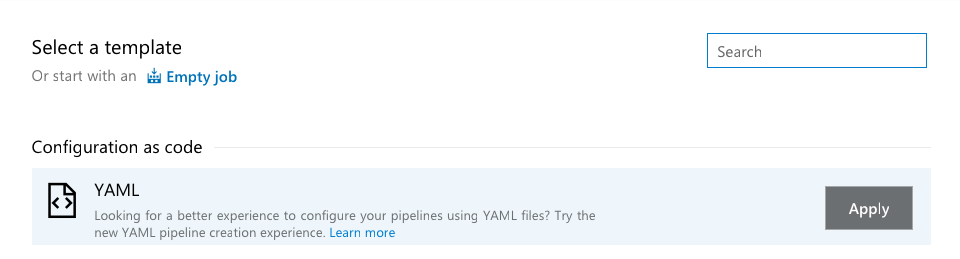
The next step is to select a template and for this choose YAML:
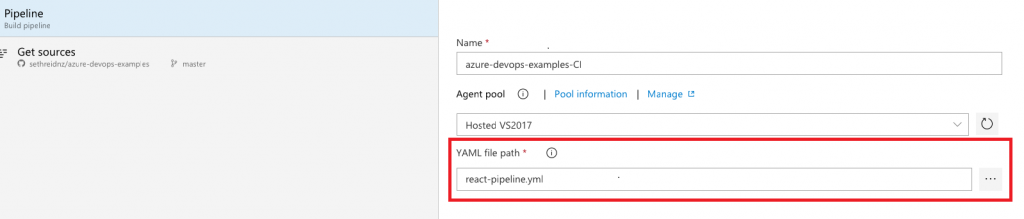
The final step is to enter the path to your YAML file in the repository, or you can click the ellipsis to select the file from your repository.
Now you can press Save and queue from the top menu to test your build.
Creating multiple builds with different YAML files
Now that you have setup this one build with a custom YAML file path you can do this process again to create a new build with a different YAML file. This means you can create as many builds as you like with as many different YAML build definitions as you need.